
Its that time of year where card making is an essential part of my creativity. from Christmas cards to simple winter wishes ... 6x6 paper pads, a stamp or two, spectrum markers and some embellishments a sweet way to brighten up someone's day!

The Cutest Stamp by Little Darlings, colored using Spectrum Noir markers on La Blanche Specialty paper... a great texture and feel. The snowman is stickled with Frosted lace . Frosted Lace has no shine but a tad bit of texture which gives Frosty that little extra depth and snow-like look.
A little Snow Glitter on the top hat and if you look at the flowers, and the La La Land die cut fence a little more snow glitter added.

The snowflakes have been distressed with Vintage Distress Ink along with the 7 Dots Alphas and the rose Die Cut flowers ( tutorial below) . Star Dust Stickles was added to the snowflakes with the ZVA pearls. Star Dust has a white shine to it -which I prefer. The flowers were dipped in Snow Glitter and Star Dust Stickles added to them as well . The Holly Flourish die was cut only once but I used bits and pieces on the corners to add some interest and Holly green stickles outlines the leaves.


What you need :
Water
Toothpick/pliers/quill stylus

Cut the flowers and distress heavily the beginning section of the flower. This gives the rose a two tone effect and you want the inside of the flower darker than the other petals being formed . Distress the edges lightly, again on both sides.

Spray a tiny bit of water and crumbled the circle rose and then carefully reshape it back. Spraying with water, reacts to the distress ink and softens the inking and the crumbling gives the rose a more natural effect.
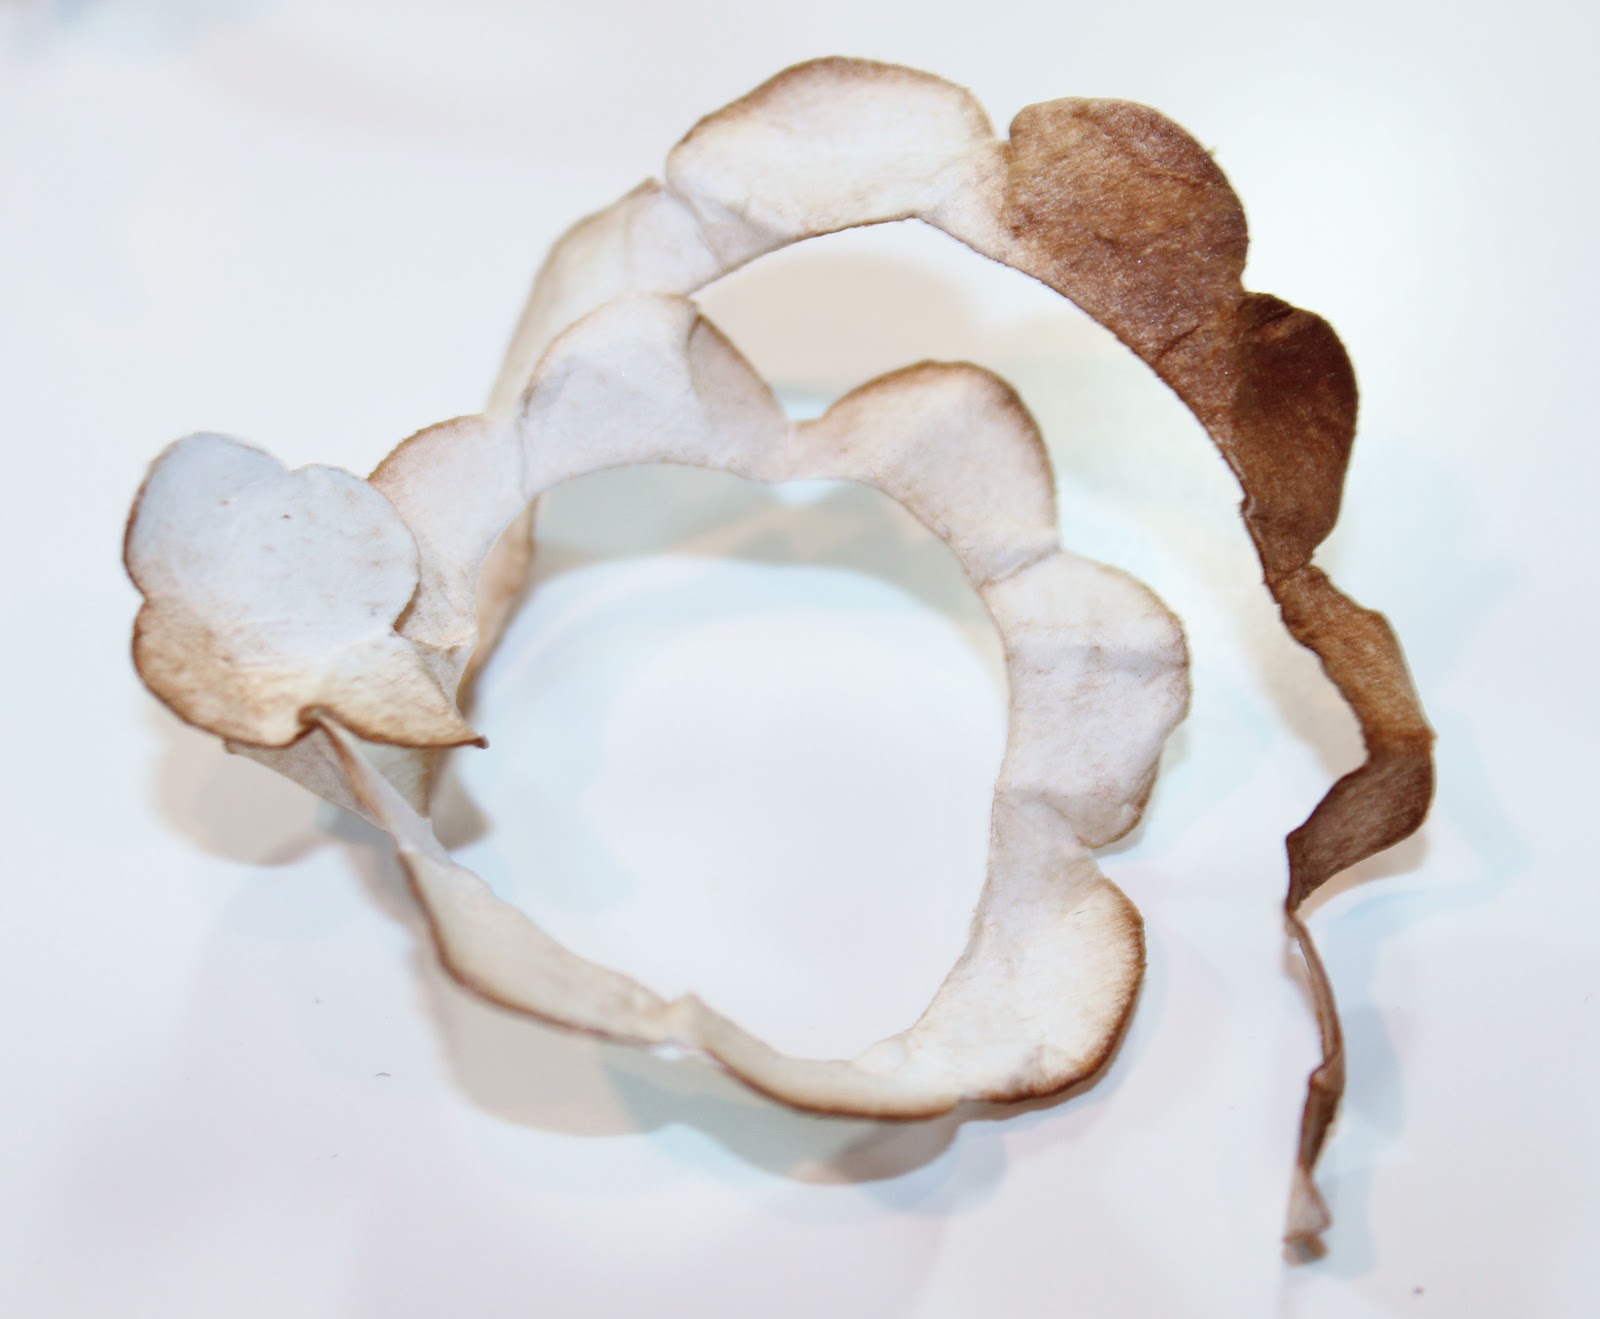
Use your pliers. quill tool, toothpick and begin to wrap the rose . When done. place on a flat surface, shape it to your liking and then glue.


Picture perfect two toned roses!


