Pages

Showing posts with label Techniques. Show all posts

Thursday, July 16

Playdate Thursday and Mini Album Binding


I've been looking so long at these pictures of you

That I almost believe that they're real

I've been living so long with my pictures of you

That I almost believe that the pictures are

All I can feel

-The Cure


Hello and welcome to Playdate Thursday!  This is the one day of the week where the creative team shares a tutorial so that you learn and grow in our love of paper crafting, 

Today, its my turn, and I am sharing a new, maybe an easier way to bind your mini album.

The creating of a mini album is a wonderful way to store  pictures from an occasion, a moment in time, a gift given with love. The  process of making a mini album should be soothing to the soul and not rushed. They are time  consuming, but a great project to work on when you can  steal a minute here and there to scrap, and  a perfect summer project. 

So  lets begin the building process : 


***if you want a complete closure for the book on each end of the 6x6 add a cut chipboard piece of 1.25" leaving a 1/8" gap **


Come join me and the rest of the Creative Team and build your mini album and showcase it in our Card /Tag okay Mini Album Challenge this  month !!


Tuesday, March 10

UHK Mademoiselle Collection and Card Tutorial


“Dwell on the beauty of life.

 Watch the stars, 

and see yourself running with them.” 

Marcus AureliusMeditations


The picnic basket is not the only yummy treat - but a step by step tutorial on making the card - how yummy is that!  I have used the beautiful and  simply divine collection by UHK - Mademoiselle , Prima flowers from my stash that I am no longer hoarding, a handmade resin frame and corset and  the cutest image by Sherri Baldy - Digi Image 499 - Blakely Ann.
So, lets get started : 


Sunday, February 15

MMU - Hip to be Square


Hip to be Square

Its MMU  time- Mid Month University where we create an  off the page project using paper and our imagination ...and this month  its a paper square cube  box  which can display and rotate six different pictures/ quotes etc  ...  

Yes, we can go to  our local craft store and buy the wooden cubes  - and make this  . or  you can  easily in 7 steps make your own : 


I used the square cube box technique to create the ABC letter boxes .. Those are only 2" x 2"   - so I only had to cut to strip and score at 2"  and have five 2" score sections since the fifth one needs to overlap  the forth square to form an open square. 

Embellished samples of Unicorns and favorite quotes: 


Or keeping it simple ..... 


So who is hip to be square? 

*You can enter  three projects for this challenge 
* Your project must be loaded  before March 14th 8:00pm standard time in order to have  chance to win the special random RAK prize . 


All other challenge rules apply. 


Thursday, January 29

Its Vine Time ( even at 7:00am ) - Playdate Thursday


Happy Play Date Thursday!!  This is the  one day of the week where the creative team and I share a wonderful tip, technique or something creative with you all - and   it my turn this week !! 

We all love  vines they are easy to work with and they add that extra WOW to your project. I am here to give you a little tutorial on making your own . Now you can stop  before adding flowers and simply have your own leaf vine or  you can  add some of those flowers you are  hoarding in your stash -    or you can both - so lets begin. 

Chalk Ink 
MFT - Die-namics Royal Leaves

To make the  leaves, I used the Royal Leaves Die-namics die by My Favorite things.  and to edge the leaves was chalk ink by Ingvlid Bolme for Prima Marketing. 


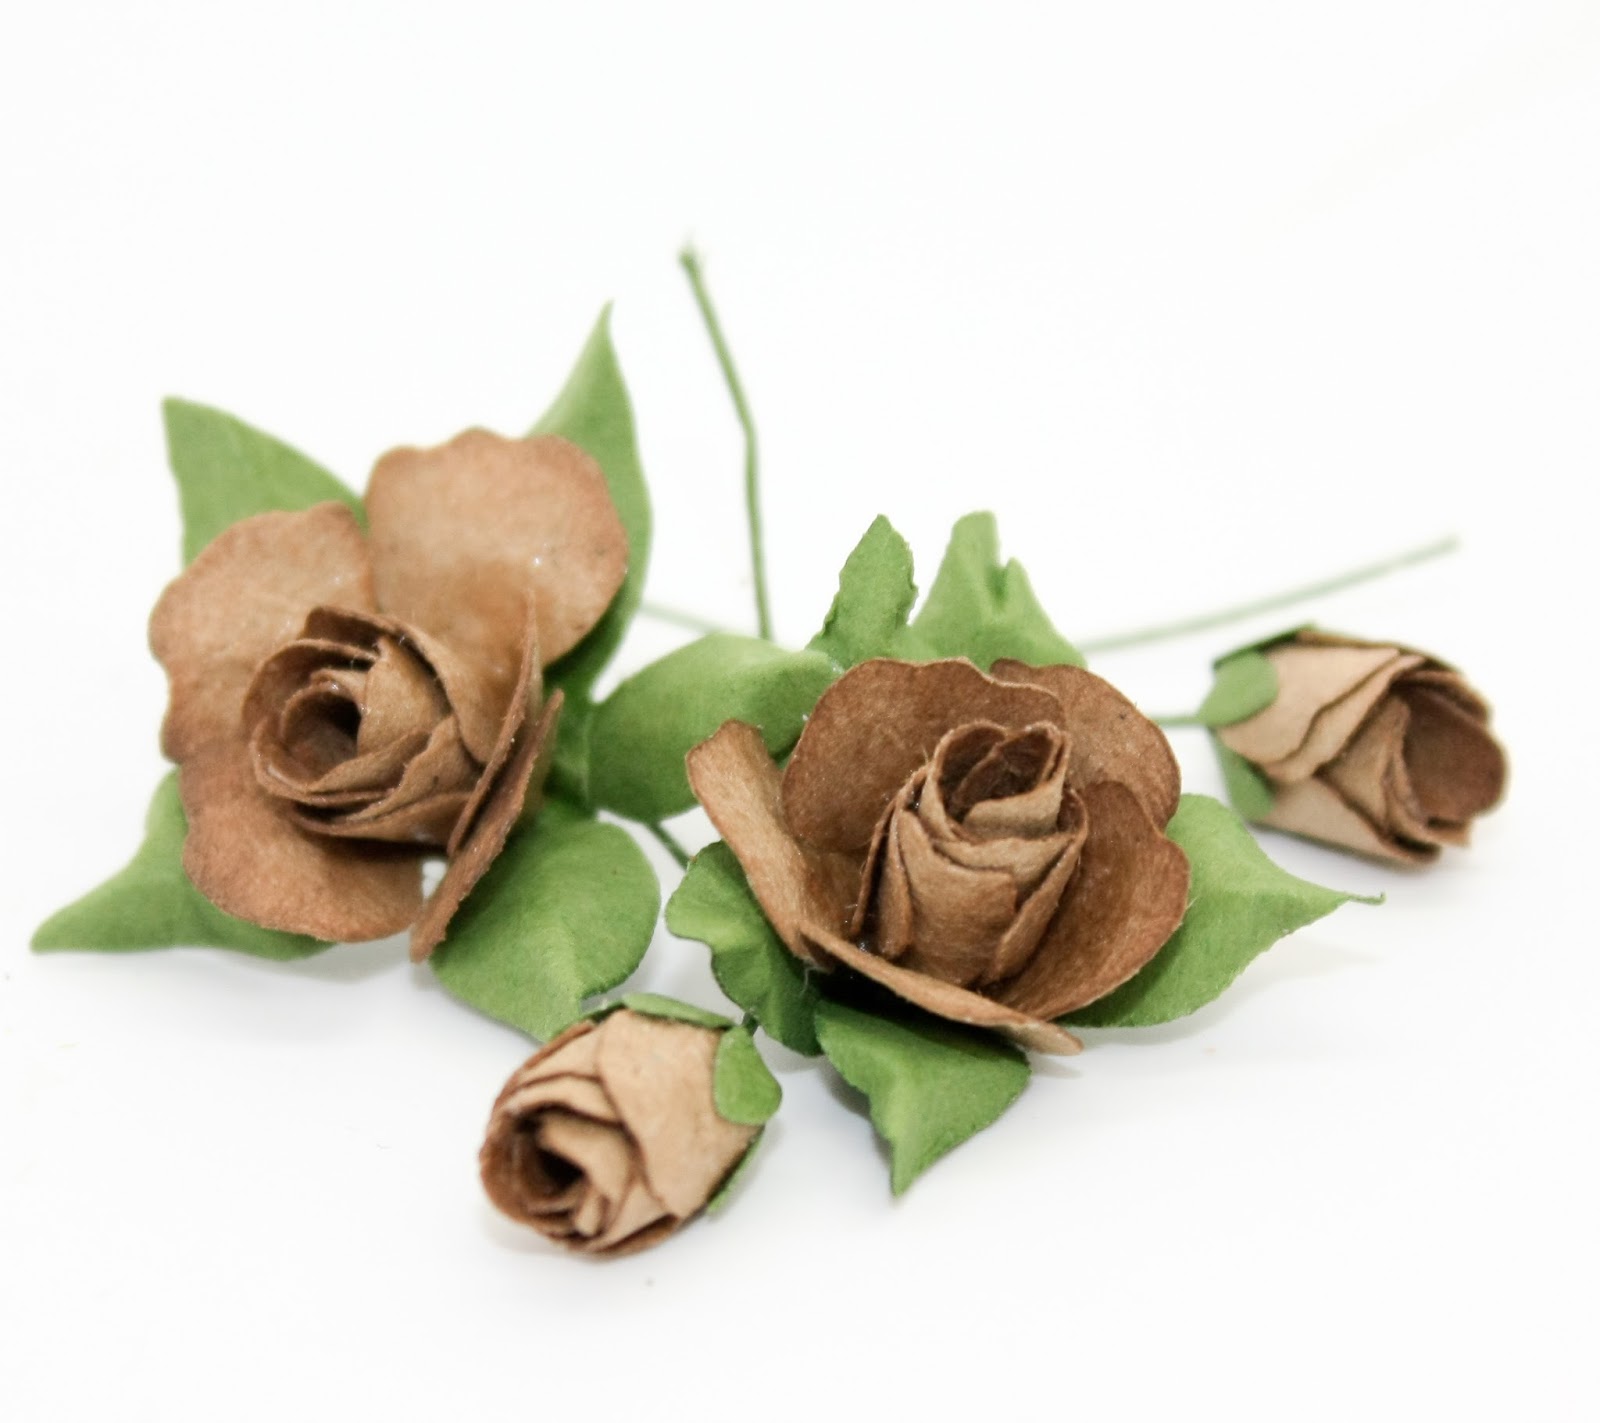
Playing  with floral tape can be a bit tricky, so do not get frustrated  - just  keep rubbing the wire back and forth with your fingers which releases the  "gum glue" from the  tape  making it  sticky.  You can also add flowers here and there to hide any perfections in the  beginning and  once mastered you  have your  own  unique vine ! 
Until next  week ! 


Thursday, October 30

Got 5 minutes? Come Play with Us!

“They are not long, the days of wine and roses. Out of a 

misty dream, our path emerges for a while, then closes, 

within a dream.” 
― Ernest DowsonThe Poems and Prose of Ernest Dowson

5 minutes is all you need  to create these darling rosebuds or half open roses. Think how many you can create in an hour and ohh.. used on a  project of beauty they  will be admired, like a rose should. Knowing these were made by you, yes that makes these roses so much sweeter.

I hope you enjoy the video I have created for you using the Tattered Floret die  by Heartfelt Creations. 


With the above and last weeks tutorial you are so ready to create your own rose garden! Now that we  have making some flowers under our  wings  ...  the next video you will be using these to create a card  - stay tuned .... 


Thursday, September 18

Playdate Thursday - A Flower Cart


Autumn days and cold nights are upon us and there is nothing more spectacular during this time of the year then the colors of fall. .I wanted to capture the season and  all its beauty, that a flower cart was surely the only way . So happy playdate Thursday we are  going to have some fun! 

I was so inspired by this cart that I need to make one of my own. I pulled out the scrap paper  the glue gun and started working on the template - this  takes a little bit of  time  .. but  ohh using up scrap papers is a joy ...  so  here  is the   prototype 

The prototype was done ..and  I was excited to now  make  it the  real thing.
Now  you can make one  too in  8  easy steps !  I used  a 6x6 paper pack from Studio 75 Olivia Collection and only  used  4 sheets- so the cart can  be  created using one 12x12 sheet .


That is my  clay pumpkin ... its kind of  cute :)  I used tops/lids  of things and   beads to act as baskets and vases  covering them or the use of 13@arts paints to create the  vintage worn look. 


There are a lot of handmade flowers,  and little details .. yes it  took some to to decorate it  but I  loved the  process  and the  creativity of it .  embrace the  colors of the  season and have some fun !