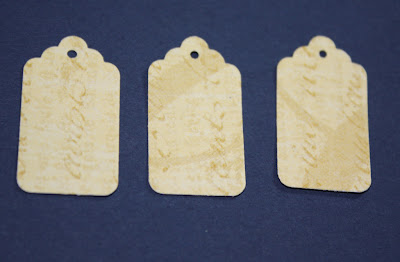
Mini Albums are way to easy and fun to do... but alot of embellishments are too large for the pages ... so its time to make your own ..
Tag One - place it aside and do not cut
Tag Two cut diagonally
Tag Three - Cut and remove the bottom portion of the tag so only the top remains as shown .
 Step Four :
 Step Four :
 One tag Two and three use your glue gun and place glue on the reverse side of the tag ( this is where you make the decision which side of the paper is good ) and let air dry. By letting the hot glue dry you are adding volume to the tag ( using glue dots or foam may cause to show .. by using hot glue it dries clear and their is no visibility to how the dimension occurred .
After the first layer of glue has dried - place a second layer of glue on tag two and layer on top of tag one ... make sure the holes line up . Repeat for tag three and place on top of tag two .
 Step Six :
 Step Six :


